Introduction
Welcome to the definitive guide for Rooms and Exits Level 3: Beauty Salon. In this chapter, you find yourself locked inside a lavish salon filled with modern décor and hidden mechanisms. Your goal is simple yet challenging: collect essential items, solve intricate puzzles, and unlock the exit door before time runs out. This walkthrough will provide a detailed, step‑by‑step strategy complete with annotated tables, expert tips, and troubleshooting advice to help both newcomers and seasoned escape‑room enthusiasts conquer this level with ease .
Key Challenges
Level 3 ramps up the difficulty by combining item hunts with code‑breaking and tool‑combination puzzles. The main obstacles include:
- Hidden Item Retrieval: Essential tools like the screwdriver and torchlight are cleverly concealed.
- Image Assembly Puzzle: Six image fragments must be found and placed correctly to reveal a locker.
- Code Deciphering: A hidden passcode must be uncovered using your newly assembled torch.
- Tool Combination: Items like the hook and fishing rod must be merged to retrieve the Massage Room key.
- Sequential Progression: Each step unlocks the next area, so missing a single item can halt your progress.
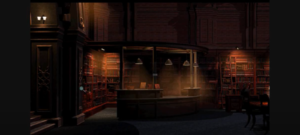
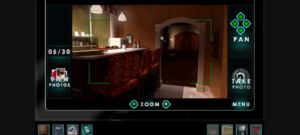
1. Exploring the Main Salon Area
Thorough exploration is crucial. The following table summarizes all six key locations and the items they yield:
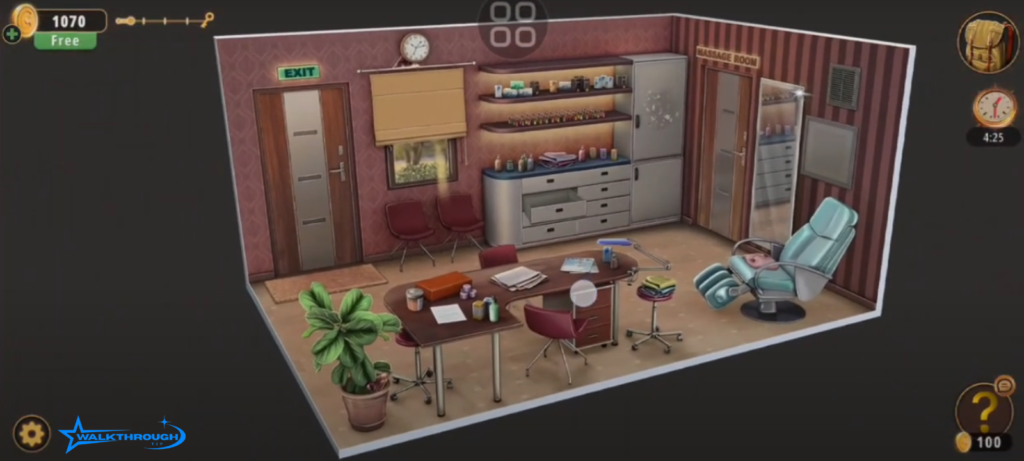
Pro Tip: Use a methodical approach start at one corner of the room and work your way around to ensure no spot is overlooked.
1.1 Massage Chair
Inspect the plush massage chair and tap the folded towel draped over it. Beneath lies the screwdriver, your first essential tool .
1.2 Vent Above Sofa
Return to the sofa area and unscrew the vent cover using your new screwdriver. Inside, you’ll find Image Piece 1, the first of six fragments .
1.3 Plant Pot
Move to the corner plant. Carefully inspect its base to retrieve Image Piece 2, camouflaged among the leaves .
1.4 Wall Clock
Remove the analog wall clock by tapping its side. Behind it hides Image Piece 3, another crucial fragment .
1.5 Briefcase
Open the small briefcase resting on the table. Inside, you’ll uncover Image Piece 4, completing two‑thirds of the puzzle .
1.6 Cupboard
- Top Drawer: Slide open to find the torchlight.
- Bottom Compartment: Engage the hidden latch to access the fish food tin .
1.7 Table Near Briefcase
Collect the batteries placed beside the briefcase. These will power your torchlight .
1.8 Exit Door Mat
Finally, lift the mat at the exit door to reveal Image Piece 5, the last fragment needed for the image puzzle .
2. Inventory Management and Item Combination
Efficient inventory handling is key. Access your bag icon and follow these steps:
- Select Torchlight.
- Select Batteries.
- Combine to create an operational torch.
This merged torch will reveal hidden clues and codes in darkened areas .
3. Revealing the Hidden Code
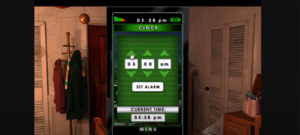
3.1 Using the Torchlight
Shine your torch inside the top area of the cupboard. The beam illuminates a faint numeric inscription: 26723 .
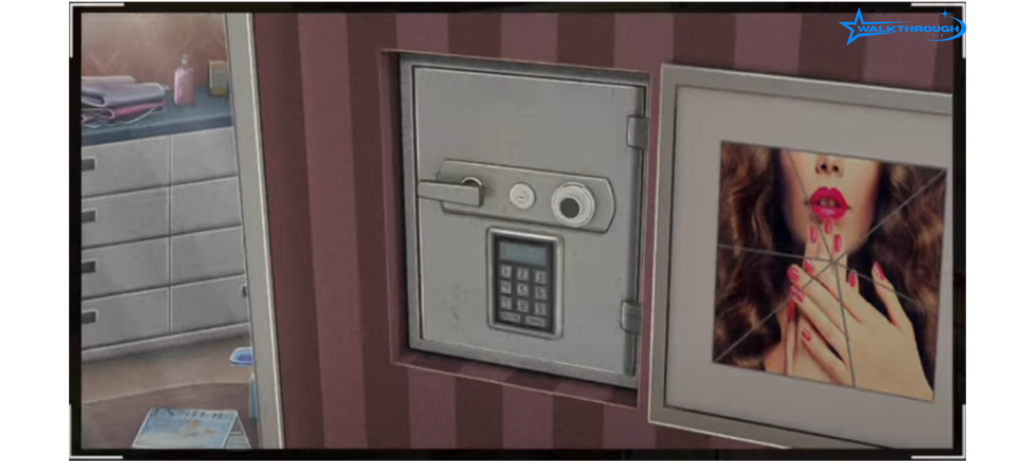
4. Accessing the Locker
4.1 Completing the Image Frame
Locate the empty frame on the wall. Place all five collected image fragments into their correct positions. Once assembled, the frame transforms into a locker door .
4.2 Entering the Passcode
Input 26723 into the locker keypad. The door clicks open, revealing the Massage Room key. Store it safely in your inventory .
5. Entering the Massage Room
Unlock the Massage Room door using your newly acquired key. Inside, you’ll find the final puzzle sequence.
5.1 Feeding the Fish
Select the fish food tin from your inventory and feed the aquarium fish. This action prompts the fish to move, hinting at the key’s location .
5.2 Retrieving the Key
5.2.1 Collecting Tools
- Hook: Hidden under the rug near the massage table.
- Fishing Rod: Leaning against the window sill.
5.2.2 Combining Tools
In your inventory, select the hook then the fishing rod. Combine to form a functional fishing tool .
5.2.3 Fishing for the Key
Use the assembled tool on the aquarium. Carefully hook and lift the exit key from the water .
6. Escaping the Beauty Salon
With the exit key in hand, return to the salon’s main door. Insert the key into the lock, turn, and step outside you’ve successfully escaped Level 3!
7. Tips and Tricks
Maximize your efficiency with these expert strategies:
- Tip 1: Systematic Searching
- Divide the salon into quadrants; clear one quadrant before moving on.
- Divide the salon into quadrants; clear one quadrant before moving on.
- Tip 2: Quick Item Checks
- Use the “inspect” function on every clickable object some hide secondary items.
- Use the “inspect” function on every clickable object some hide secondary items.
- Tip 3: Note‑Taking
- Jot down discovered codes and puzzle hints on paper or in a digital note to avoid backtracking.
- Jot down discovered codes and puzzle hints on paper or in a digital note to avoid backtracking.
| Tip Category | Description |
| Inventory Organization | Combine items immediately to free up slots. |
| Puzzle Recall | Photograph the screen when you find a clue. |
| Time Management | Prioritize high‑value items (screwdriver, torch). |
8. Common Mistakes and Troubleshooting
Even veterans can stumble on these pitfalls:
- Overlooking Small Items
- The hook beneath the rug is often missed always check floor coverings.
- The hook beneath the rug is often missed always check floor coverings.
- Incorrect Item Combinations
- Ensure you have the correct pair (e.g., hook + rod, not hook + fish tin).
- Ensure you have the correct pair (e.g., hook + rod, not hook + fish tin).
- Skipping Clue Illumination
- Forgetting to use the torch on the cupboard can hide the passcode entirely.
- Forgetting to use the torch on the cupboard can hide the passcode entirely.
| Problem | Solution |
| No passcode visible | Recombine torch and batteries; re‑shine on cupboard. |
| Image pieces don’t fit | Rotate fragments orientation matters. |
| Fishing tool not working | Verify correct inventory merge: hook first, rod second. |
9. Conclusion
Level 3’s Beauty Salon presents a balanced mix of item hunts, code puzzles, and tool combinations. By following this comprehensive guide, you’ll navigate every twist and turn with confidence. Remember to explore methodically, combine items promptly, and never overlook subtle clues.
Rooms and Exits Level 3 is now complete. Let’s move on and tackle Level 4!